If your legs feel tight, heavy, or overworked - these foam roller exercises for legs can completely change how your body moves and feels.
Foam rolling isn’t just about loosening muscles. It’s about helping your body move with more ease, better alignment, and less restriction.
And once you start, it often becomes one of those simple habits you don’t want to skip.
In this guide, you’ll go through 7 effective foam roller exercises for legs that target your glutes, thighs, and calves - helping you release tension and restore flow through your entire lower body.
Why Foam Roller Exercises for Legs Work
Before we get into the exercises, it helps to understand why foam rolling is so effective.
Foam rolling is a form of self-myofascial release, which helps reduce tension in the connective tissue surrounding your muscles.
When done consistently, these foam roller exercises for legs can support both recovery and better movement.
Key Benefits of Foam Rolling Your Legs
- Releases tight spots (“knots”)
- Improves movement patterns
- Increases blood flow for faster recovery
- Improves flexibility and joint range of motion
- Supports healthy muscle length
- Relieves muscle soreness and joint stress
- Helps correct muscular imbalances
- Improves neuromuscular efficiency
It’s simple - but incredibly powerful when done regularly.
How to Do Foam Roller Exercises for Legs
These foam roller exercises for legs are designed to target your entire lower body - from glutes to calves.
Most positions require you to support your body with your arms, so you’ll also get a bit of upper body activation along the way.
Here are a few key principles to keep in mind:
- Move slowly and with control
- Breathe deeply throughout
- Spend 30–90 seconds per muscle group
- Pause on tight or tender spots and let the tissue release
- Avoid rolling directly over joints or bones
The goal isn’t to push through pain - it’s to create a controlled, deep release.
7 Foam Roller Exercises for Legs
1. Foam Rolling Quads (Front Thighs)
Starting Position: Begin in a kneeling position with the foam roller placed horizontally in front of you. Lower your thighs onto the roller and come down onto your forearms.
Movement: Slowly roll back and forth along the quadriceps - from just above the knees up toward the hips. Keep your body long and your core gently engaged.
Variation: Bend your knees to about 90 degrees and gently rock your legs side to side as you roll to target different areas of the quads.
2. Foam Rolling Inner Thighs
Starting Position: From a forearm position, bring the foam roller to one side of your body. Place your inner thigh on top of the roller with the knee bent and roughly in line with your hip.
Movement: Roll slowly out to the side and back toward center, exploring the inner thigh muscles.
Variation: You can keep the knee bent or extend the leg straight to change the intensity and angle of the stretch.
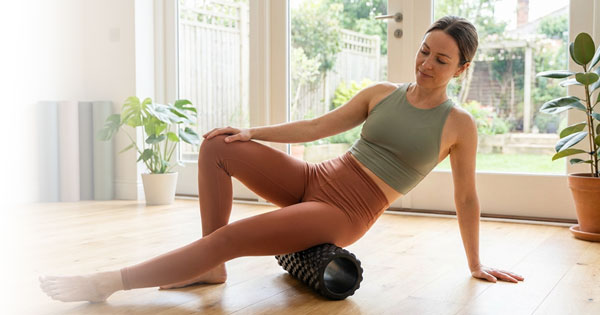
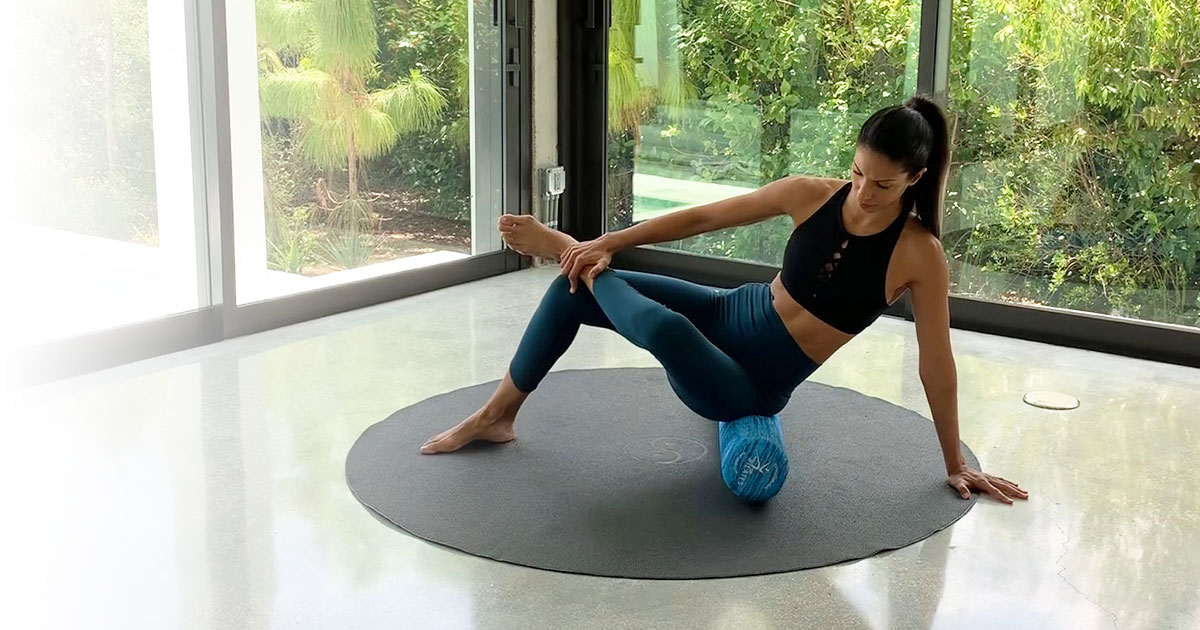
3. Foam Rolling Glutes
Starting Position: Sit on the foam roller and cross one ankle over the opposite knee.
Movement: Shift your weight slightly toward the side of the crossed leg so that one glute is on the roller. Roll slowly back and forth.
This area can feel deep and intense - if you find a tender spot, pause and take a few deep breaths.
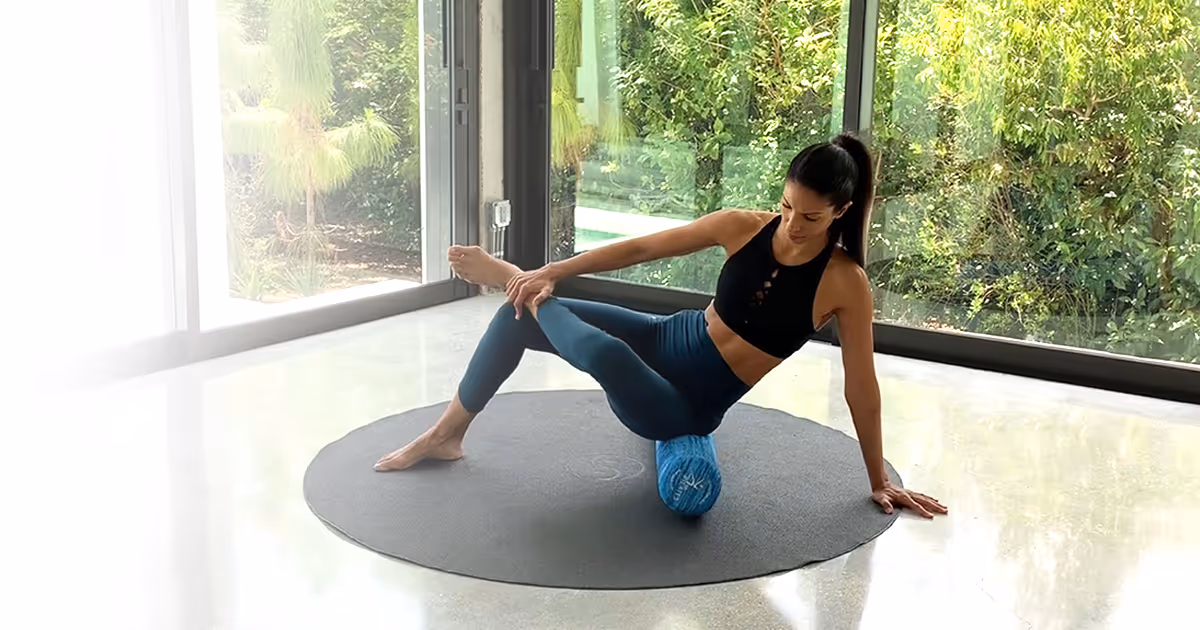
4. Foam Rolling Outer Thigh (IT band)
Starting Position: Lie on your side with the foam roller under your outer thigh. The top leg can step forward with the foot flat on the floor for support.
Movement: Roll slowly along the outer thigh with control.
Progression : For a deeper effect, stack your legs and keep your body lifted off the floor.
5. Foam Rolling Hamstrings - Variation A
Starting Position: Sit on the floor with the foam roller placed horizontally under your thighs. Press through your hands to lift your pelvis slightly off the ground.
Movement: Roll back and forth along the hamstrings with control.
Modification: Use yoga blocks under your hands if lifting feels challenging.
Progression: Cross one leg over the other to increase pressure.
6. Foam Rolling Hamstrings - Variation B
Starting Position: Place one thigh on the foam roller while the opposite foot stays flat on the floor.
Movement: Use one hand to support your body and the other to gently press into the leg for added pressure. Roll slowly back and forth while slightly rotating the leg inward and outward to target different areas of the hamstring.
7. Foam Rolling Calves
Starting Position: Place your calves on the foam roller and press through your hands to lift your hips off the ground.
Movement: Roll slowly from the ankles up toward the back of the knees.
Progression: Cross one leg over the other to increase pressure and intensity.
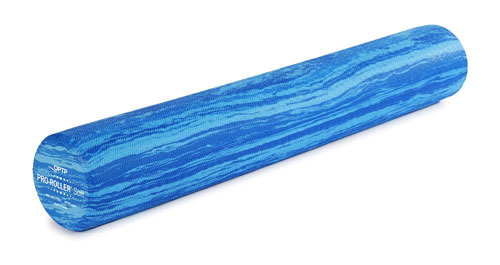
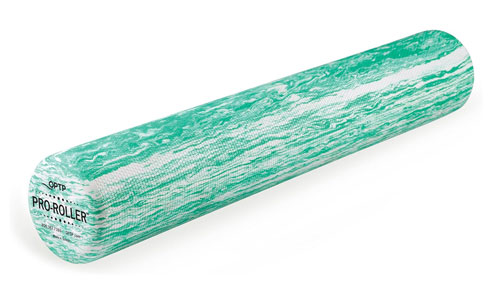
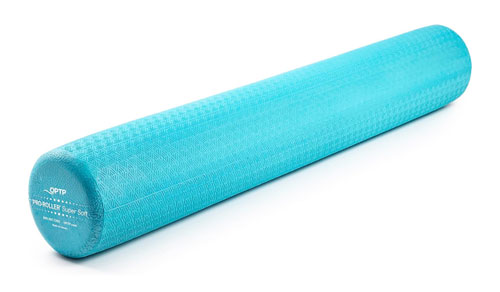
Which Foam Roller Is Best?
There are many foam rollers on the market - different sizes, densities, and textures - but you don’t need anything complicated to get started.
A long foam roller (around 36”) is usually the most versatile option, especially if you’re new to foam rolling.
If you’re just beginning, choose a softer roller. Hard rollers can feel too intense and may cause you to tense up, which limits the effectiveness of the release.
The goal is to feel a deep, controlled pressure - not pain.
Final Thoughts
These foam roller exercises for legs are simple, but incredibly effective when done consistently.
They don’t just help with recovery - they help your body move better, feel lighter, and stay more connected.
Even a few minutes a day can make a noticeable difference in how your legs feel and perform.
Frequently Asked Questions About Foam Roller Exercises for Legs
How often should I do foam roller exercises for legs?
You can do foam rolling daily, especially if your legs feel tight or sore. Even 5–10 minutes can be effective.
Should foam rolling be painful?
It can feel intense, but it shouldn’t be painful. Aim for a level of pressure where you can still breathe and relax into the movement.
Is it better to foam roll before or after a workout?
Both are beneficial. Before a workout, foam rolling can improve mobility. After a workout, it helps with recovery and reducing soreness.
Can foam rolling replace stretching?
Foam rolling complements stretching but doesn’t replace it. Combining both will give you the best results for flexibility and mobility.
Still have questions?
If you have any questions about the workouts, guides, or anything on the site, feel free to get in touch.